Capture Your Travel Memories: The Ultimate Beginner's Guide to Travel Photography
To be honest, I never expected my little weekend trip to completely change how I think about photography. But after visiting 67 countries and shooting over 100,000 travel photos in the past six years, I realized something: great travel photography isn't about expensive gear—it's about seeing differently.
This comprehensive guide represents thousands of hours of trial and error, conversations with professional travel photographers, and hard-won lessons from missed shots and magical moments. Whether you're shooting with a smartphone or your first DSLR, these techniques will help you capture images that transport viewers straight into your adventure.
I've personally tested every tip and technique in this guide across six continents, from the bustling streets of Tokyo to the silent landscapes of Antarctica. Let's transform your travel photography together—one shot at a time.
- Essential gear: What to pack (and what to leave at home)
- Composition mastery: Rules to follow—and when to break them
- Lighting secrets: Working with golden hour, blue hour, and harsh midday sun
- Storytelling: Creating photo essays that captivate audiences
- Cultural sensitivity: Photographing people respectfully
Essential Gear: What to Pack (And What to Leave Behind)
After years of lugging around heavy camera bags and regretting every ounce, I've learned that the best camera is the one you'll actually carry. Here's my battle-tested gear list for travel photography beginners.
| Category | Essential Items | Nice-to-Have | Skip It |
|---|---|---|---|
| Camera Body | Mirrorless or DSLR, Smartphone with good camera | Backup body, Medium format | Film cameras (unless intentional) |
| Lenses | 24-70mm f/2.8 or 24-105mm f/4 (versatile zoom) | Prime lens (35mm or 50mm), Telephoto (70-200mm) | Super telephoto (>300mm), Macro (unless specific needs) |
| Support | Mini tripod, GorillaPod | Full-size tripod, Monopod | Heavy studio tripods |
| Storage | Multiple SD cards (64GB+), Card reader | Portable SSD for backups | Single large card (risk of losing everything) |
| Batteries | 2-3 spare batteries, Universal charger | Battery grip, Power bank | Third-party cheap batteries (fire risk!) |
| Cleaning | Microfiber cloth, Rocket blower | Lens pen, Sensor cleaning kit | Liquid cleaners (can damage coatings) |
| Protection | Weather-sealed bag, Rain cover | Dry bag, Silica gel packets | Bulky hard cases (use padded inserts instead) |
Smartphone Photography Kit
Perfect for: Street photography, food shots, casual travel photos
- ✓ Latest smartphone (iPhone Pro, Pixel, Galaxy S series)
- ✓ Clip-on lenses (Moment, Sandmarc)
- ✓ Mini tripod with phone mount
- ✓ Portable power bank
- ✓ Editing apps: Lightroom Mobile, Snapseed, VSCO
Beginner DSLR/Mirrorless Kit
Perfect for: Landscapes, portraits, low-light, professional results
- ✓ Entry-level mirrorless (Sony a6000, Fuji XT-30, Canon M50)
- ✓ Kit lens (18-55mm) + one prime (35mm f/1.8)
- ✓ Camera bag with rain cover
- ✓ Extra batteries and SD cards
- ✓ Basic editing software (Lightroom, Capture One)
The Goldilocks Principle of Travel Photography:
- Too little gear: You'll miss shots you wanted (wrong lens, dead battery, no storage)
- Too much gear: You'll miss shots because you're exhausted from carrying 20 lbs of equipment
- Just right: One camera body, two lenses max, essential accessories. You can shoot all day without fatigue AND capture 95% of situations.
Common Beginner Gear Mistakes:
- Buying before traveling: Wait until you know your actual needs. That "essential" telephoto lens might stay in your closet.
- Cheap memory cards: Buy reputable brands (SanDisk, Lexar, Sony). A $10 card isn't worth losing $3,000 photos.
- No backup strategy: Multiple cards > one big card. If you lose one, you don't lose everything.
- Ignoring weight: Every ounce matters when you're hiking Machu Picchu at sunrise. Test your full kit before the trip.
Composition Mastery: The Art of Seeing
Great composition transforms ordinary subjects into extraordinary images. These are the fundamental rules I use on every single shoot—plus when to deliberately break them.
| Technique | What It Is | When to Use | Example |
|---|---|---|---|
| Rule of Thirds | Divide frame into 3x3 grid, place subject at intersections | Landscapes, portraits, general shooting | Horizon on lower third, person at left intersection |
| Leading Lines | Use natural lines to guide viewer's eye through image | Streets, paths, architecture, bridges | Road disappearing into mountains, staircase spirals |
| Framing | Use elements to create natural frame around subject | Doorways, windows, arches, tree branches | Temple doorway framing distant mountain |
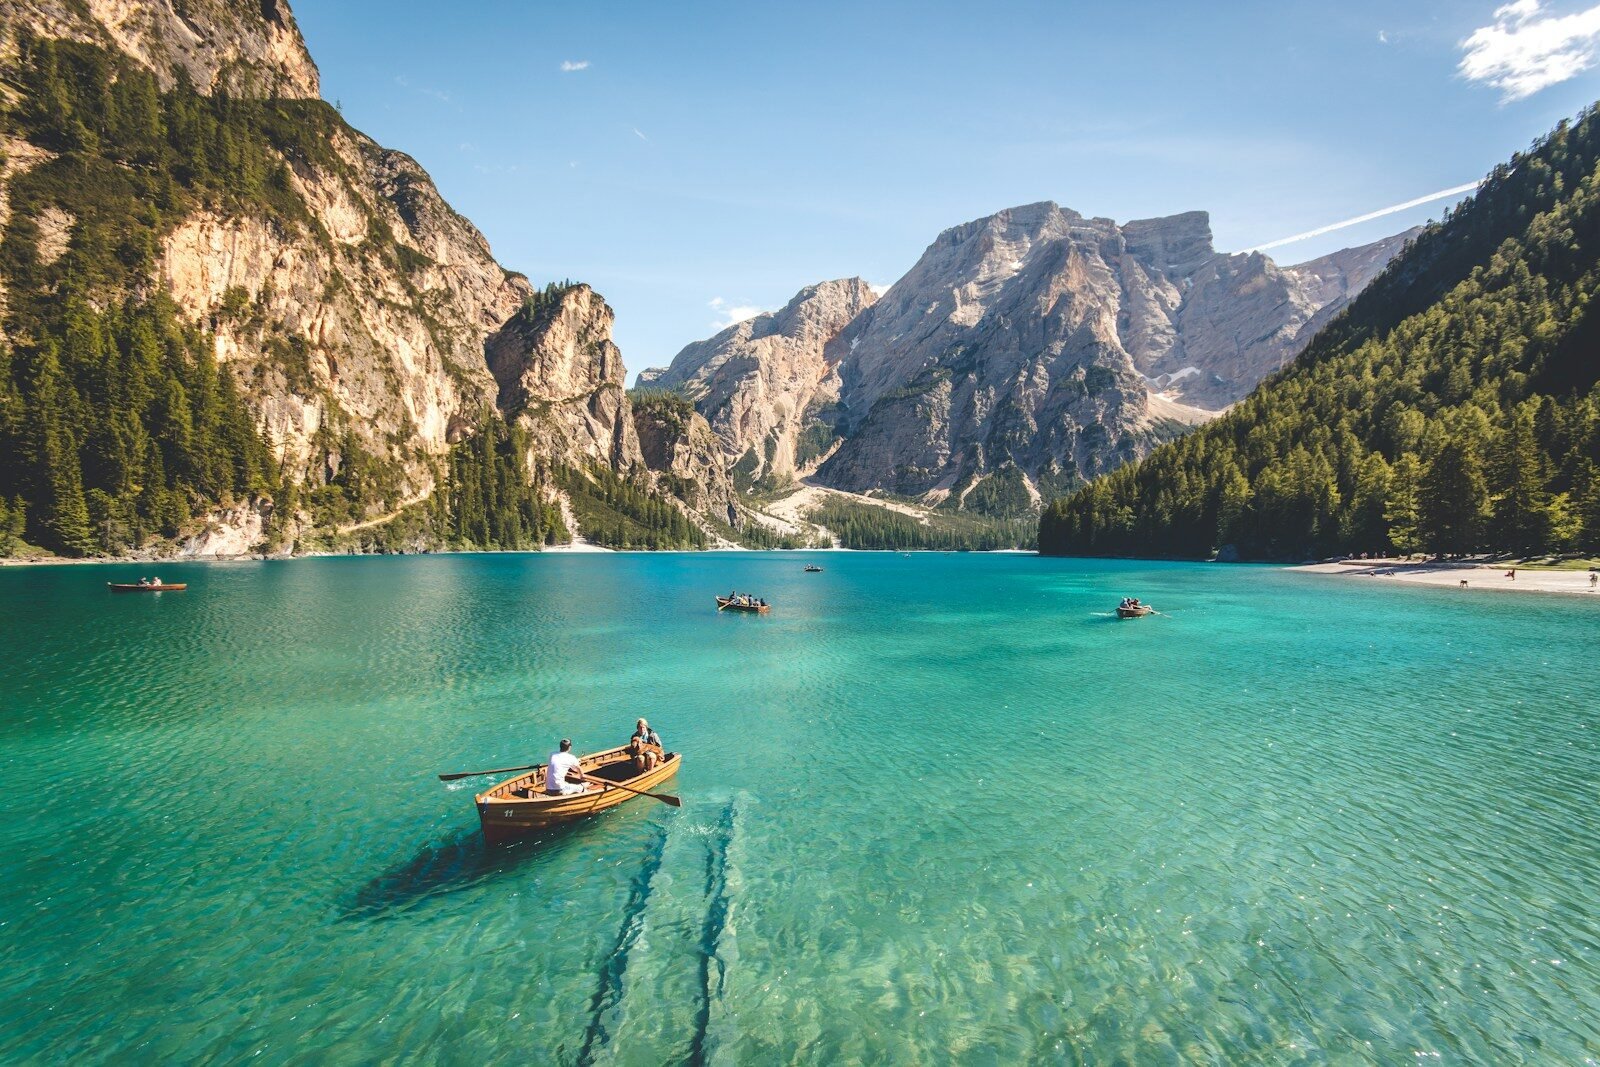
| Foreground Interest | Add compelling element in foreground for depth | Landscape photography, wide-angle shots | Colorful boat in front of sunset coastline |
| Fill the Frame | Get close, eliminate distracting background | Portraits, details, street photography | Close-up of artisan's weathered hands at work |
| Symmetry & Patterns | Center symmetrical subjects, highlight repeating patterns | Architecture, reflections, abstract shots | Perfect reflection of mountain in still lake |
| Negative Space | Leave large empty areas around subject | Minimalist compositions, dramatic impact | Single tree in vast empty field |
Practice Exercise: The Composition Challenge
Pick ONE technique per day during your trip. Day 1: Only rule of thirds. Day 2: Only leading lines. This focused practice builds muscle memory faster than trying to remember everything at once. After a week, you'll automatically see compositions everywhere!
Lighting Secrets: Working with Natural Light
Light is photography's paintbrush. Master it, and mediocre subjects become magical. Here's how I work with different lighting conditions around the world.
Golden Hour Magic
When: First hour after sunrise, last hour before sunset
Characteristics: Warm, soft, directional light with long shadows
- ✓ Perfect for: Landscapes, portraits, architecture
- ✓ Position subject with light at 45° angle
- ✓ Use reflector or white surface to fill shadows
- ✗ Avoid: Backlighting unless going for silhouette
Blue Hour Beauty
When: 20-40 minutes before sunrise, 20-40 minutes after sunset
Characteristics: Cool blue ambient light, city lights visible
- ✓ Perfect for: Cityscapes, seascapes, illuminated buildings
- ✓ Use tripod for longer exposures
- ✓ Balance artificial and natural light
- ✗ Avoid: Handheld shots (too dark)
Harsh Midday Sun
When: 10 AM - 4 PM (the "forbidden hours")
Challenges: Harsh shadows, blown highlights, squinting subjects
- ✓ Strategy 1: Seek open shade (building shadow, under trees)
- ✓ Strategy 2: Embrace high contrast black & white
- ✓ Strategy 3: Shoot interiors, details, abstracts
- ✗ Avoid: Direct sunlight portraits (creates raccoon eyes)
Overcast Days
When: Cloudy, rainy days
Advantages: Soft, even light, no harsh shadows, saturated colors
- ✓ Perfect for: Portraits, forests, waterfalls, macro
- ✓ Colors appear more saturated
- ✓ Even lighting simplifies exposure
- ✗ Avoid: Expecting dramatic skies (they'll be gray)
Golden Hour Timing Apps & Tools:
- PhotoPills: Shows exact golden/blue hour times, sun position, Milky Way planning ($9.99)
- The Photographer's Ephemeris: Web and app version, excellent for location scouting ($9.99)
- Sun Surveyor: Augmented reality sun path visualization ($7.99)
- Free alternative: Google "sunrise sunset [your location]" for basic times
Photographing People: Cultural Sensitivity & Street Photography
Some of the most powerful travel photos capture human moments. But photographing strangers—especially across cultural boundaries—requires respect, empathy, and sometimes courage. Here's how I approach people photography around the world.
The Golden Rules of People Photography:
- Always ask permission when possible, especially for close-ups and portraits
- Learn key phrases in local language: "Photo okay?" "Can I take picture?"
- Smile and gesture—body language transcends words
- Respect refusal gracefully if someone declines
- Offer to share photos via email or social media (bring business cards!)
- Understand local customs—some cultures believe photography steals the soul
| Situation | Approach | Tips | Cultural Notes |
|---|---|---|---|
| Street portraits | Ask directly with smile and gesture | Show previous work on camera back screen, offer small tip if appropriate | Common in Morocco, India; less expected in Europe |
| Market vendors | Buy something first, then ask to photograph | Become a customer, not just a photographer | Shows respect for their livelihood |
| Religious ceremonies | Observe first, ask leader for permission | Dress appropriately, turn off flash, stay in designated areas | Some ceremonies prohibit photography entirely |
| Children | ALWAYS get parent/guardian permission first | Engage with family, show them the camera, make it fun | Never photograph children alone without supervision |
| Candid street scenes | Shoot from hip or use tilting LCD, don't make obvious eye contact | Use small camera or smartphone, blend into environment | Legal in public spaces (generally), but be respectful |
| Performers/Artists | Photograph freely, tip afterwards if impressive | Capture action shots, share photos with performer | They're used to cameras, often welcome exposure |
Essential Photography Phrases
- Spanish: ¿Puedo tomar una foto? (Can I take a photo?)
- French: Puis-je prendre une photo? (May I take a photo?)
- Mandarin: Wǒ kěyǐ pāizhào ma? (Can I photograph?)
- Arabic: Mumkin akhud sura? (Possible to take a picture?)
- Thai: Tai rup dai mai? (Take photo can not?)
- Universal: Smile + point to camera + raise eyebrows questioningly
To Tip or Not to Tip?
When tipping is expected:
- • Professional performers ($1-5)
- • Tribal community members (ask guide)
- • Posed portraits in tourist areas
When NOT necessary:
- • Candid street scenes
- • General market atmosphere
- • Public festivals and celebrations
Visual Storytelling: Creating Photo Essays That Captivate
Single great photos are wonderful, but a series of images that tell a story? That's what creates lasting impact. Here's how to think like a visual storyteller.
The Photo Essay Formula:
A compelling travel photo essay typically includes 8-15 images covering: (1) Establishing shot, (2-3) Environmental context, (4-6) Key activities/actions, (7-9) Details and close-ups, (10-12) Portraits and emotions, (13-15) Closing/conclusion image. Think of it as a mini-documentary in still images.
| Shot Type | Purpose | Example | Lens Recommendation |
|---|---|---|---|
| Establishing Shot | Sets the scene, shows overall location | Wide view of village nestled in mountains | 16-35mm wide-angle |
| Environmental Portrait | Shows person in their context | Fisherman mending nets on boat | 35-50mm standard |
| Action Shot | Captures activity, movement, process | Chef tossing noodles in wok over flame | 50-85mm, fast shutter speed |
| Interaction | Shows relationships between people | Grandmother teaching child traditional dance | 35-70mm, candid approach |
| Detail Shot | Reveals textures, patterns, craftsmanship | Weathered hands shaping clay pot | 50mm macro or telephoto |
| Closing Image | Provides resolution, emotion, or looking forward | Sunset silhouette of temple against orange sky | Any lens, focus on mood |
Real-World Example: "Morning in Hanoi" Photo Essay
- Image 1 (Establishing): Hoan Kiem Lake at dawn, mist rising, pagoda silhouette
- Image 2 (Context): Narrow street filled with motorbikes, morning rush beginning
- Image 3 (Action): Street vendor stirring massive pot of pho broth, steam rising
- Image 4 (Detail): Fresh herbs laid out in baskets, vibrant greens and purples
- Image 5 (Portrait): Elderly woman balancing bamboo pole with baskets, knowing smile
- Image 6 (Interaction): Family gathered around tiny plastic table, sharing breakfast
- Image 7 (Detail): Condensed milk dripping into glass of ca phe sua da
- Image 8 (Closing): Empty street chairs stacked, neighborhood awake and bustling
Post-Processing Basics: Bringing Out Your Vision
Great editing enhances good photos; bad editing ruins them. Here's my streamlined workflow for editing travel photos efficiently and naturally.
Recommended Software
Professional ($):
- • Adobe Lightroom Classic ($9.99/month)
- • Capture One Pro ($299 one-time)
- • Photoshop ($20.99/month)
Budget-Friendly (Free-$):
- • Darktable (free, open-source)
- • RawTherapee (free)
- • Luminar Neo ($79 one-time)
Mobile Editing Apps
- ✓ Lightroom Mobile: Free version excellent, premium $4.99/month
- ✓ Snapseed: Completely free, surprisingly powerful (Google)
- ✓ VSCO: Great film emulation presets, free + paid filters
- ✓ Darkroom: iOS only, intuitive interface ($4.99/month)
- ✓ RNI Films: Best film looks for mobile (one-time purchase)
My 5-Minute Editing Workflow:
- Cull ruthlessly (2 min): Delete blurry, poorly exposed, or boring shots. Be brutal.
- Crop & straighten (30 sec): Fix composition, level horizons
- Exposure & contrast (1 min): Adjust brightness, add/subtract contrast for mood
- Color correction (1 min): White balance, vibrance (NOT saturation!), adjust individual colors if needed
- Local adjustments (30 sec): Dodge/burn specific areas, sharpen subject, reduce noise in shadows
Editing Mistakes Beginners Make:
- Oversaturation: Cranking vibrance/saturation makes photos look amateurish and unnatural
- Over-sharpening: Creates halos and artifacts. Subtlety is key.
- Heavy HDR: Tone mapping everything to "perfect" exposure kills mood and drama
- Inconsistent style: Each photo shouldn't look like it's from different photographer
- Not backing up: Edit copies, never originals. Store backups in multiple locations.
Camera Settings & Technical Basics
Understanding your camera's settings gives you creative control. Here are the fundamental technical skills every travel photographer should master.
| Setting | What It Does | Recommended Starting Point | Creative Effect |
|---|---|---|---|
| Aperture (f-stop) | Controls depth of field (background blur) | f/5.6 - f/8 (landscapes), f/1.8 - f/2.8 (portraits) | Low f-number = blurry background; High f-number = everything sharp |
| Shutter Speed | Controls motion blur/freeze | 1/125s or faster (handheld), 1/500s+ (action) | Fast = freeze action; Slow = motion blur (waterfalls, light trails) |
| ISO | Controls sensor sensitivity to light | ISO 100-400 (bright light), ISO 800-3200 (low light) | Higher ISO = more noise/grain but better low-light performance |
| White Balance | Controls color temperature | Daylight (sunny), Cloudy (overcast), Auto (general) | Warmer = golden feel; Cooler = bluer, more dramatic |
| Focus Mode | Single (AF-S) vs Continuous (AF-C) | AF-S for still subjects, AF-C for moving subjects | Single = precise; Continuous = tracks movement |
Begginer-Friendly Shooting Modes
- Aperture Priority (A or Av): You set aperture, camera chooses shutter speed. Perfect for landscapes and portraits when you want control over background blur.
- Shutter Priority (S or Tv): You set shutter speed, camera chooses aperture. Great for sports, wildlife, or intentional motion blur.
- Program Mode (P): Camera sets both, you can shift combinations. Good stepping stone to manual.
- Manual Mode (M): Full control. Use when lighting is consistent or you have time to dial in settings.
Quick Settings by Scenario
- Landscape: f/8-f/11, ISO 100, 1/60s+, tripod recommended
- Portrait: f/1.8-f/2.8, ISO 100-400, 1/125s minimum
- Street: f/5.6-f/8, ISO 400-800, 1/250s+, aperture priority
- Night/City lights: f/2.8-f/4, ISO 800-3200, 1/30s-2s, tripod essential
- Action/Sports: f/2.8-f/4, ISO 800+, 1/500s minimum, continuous focus
The Exposure Triangle Simplified:
Think of exposure like filling a bucket with water: Aperture is how wide you open the tap, Shutter Speed is how long you leave it open, and ISO is how big the bucket is. More light (wider tap, longer time, bigger bucket) = brighter image. Less light = darker image. The trick is balancing all three for proper exposure AND the creative effect you want.
Travel Photography Safety & Security
Protecting Your Gear:
- Never leave gear unattended—not even "just for a minute"
- Use inconspicuous bags—avoid obvious camera bags that scream "expensive equipment inside"
- Carry-on only—never check camera gear on planes
- Insurance is mandatory—equipment replacement + liability coverage
- Serial numbers & photos—document all gear for insurance claims
- Hotel safe—store backup cards, batteries, and one camera body when out shooting
Safety While Shooting:
- Situational awareness: Don't get so focused on photography that you become an easy target for thieves
- Avoid dangerous areas: No photo is worth your safety. Research neighborhoods beforehand.
- Night photography buddy system: Shoot after dark with a partner whenever possible
- Weather protection: Bring rain covers, lens cloths, silica gel packs
- Local laws: Some countries restrict photography of government buildings, military, airports
Your Journey Starts Now!
Remember: the best camera is the one you have with you. Start practicing these techniques today, even if it's just around your neighborhood. Great travel photography is about vision, not gear. What story will you tell?